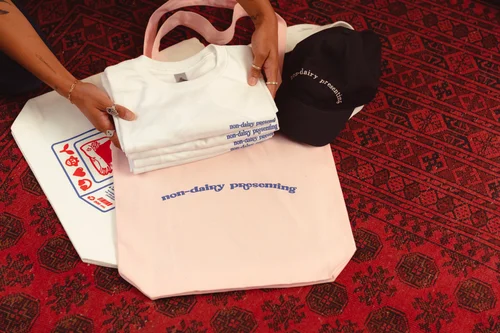
Print on Demand and Dropshipping is Easy with The Print Bar
Print on Demand with The Print Bar
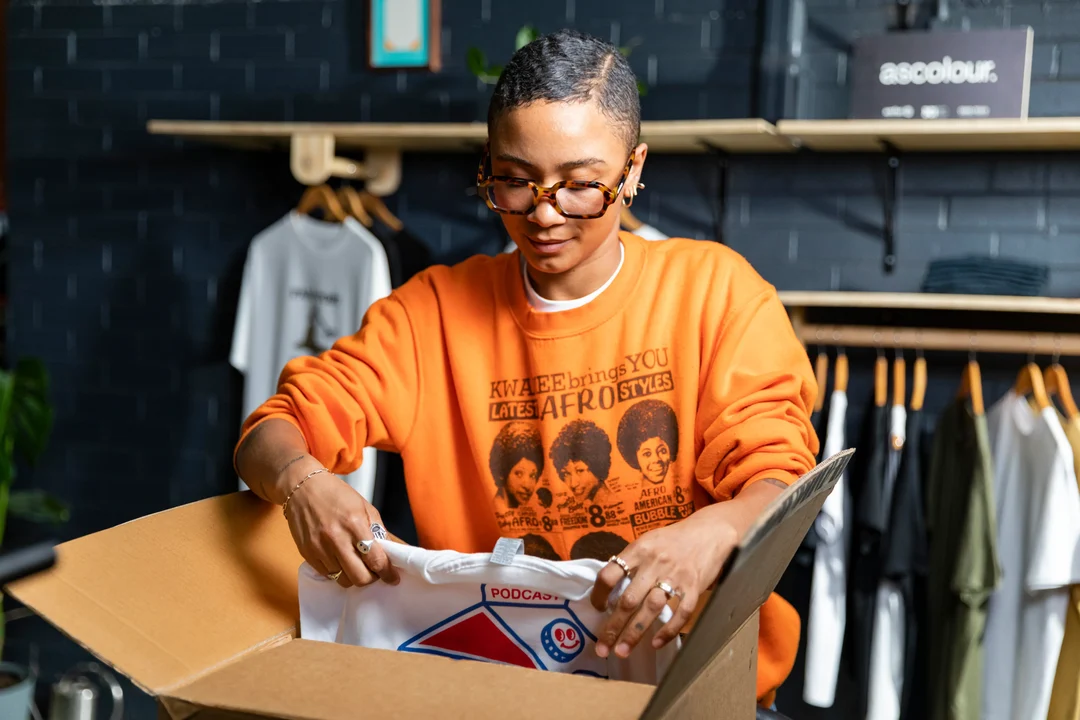
Our full-service Print on Demand (dropshipping) options gives you the ability to sell your ideas, designs or merchandise without any setup expenses or storage needs. We'll do all the heavy lifting, you focus on building your brand.
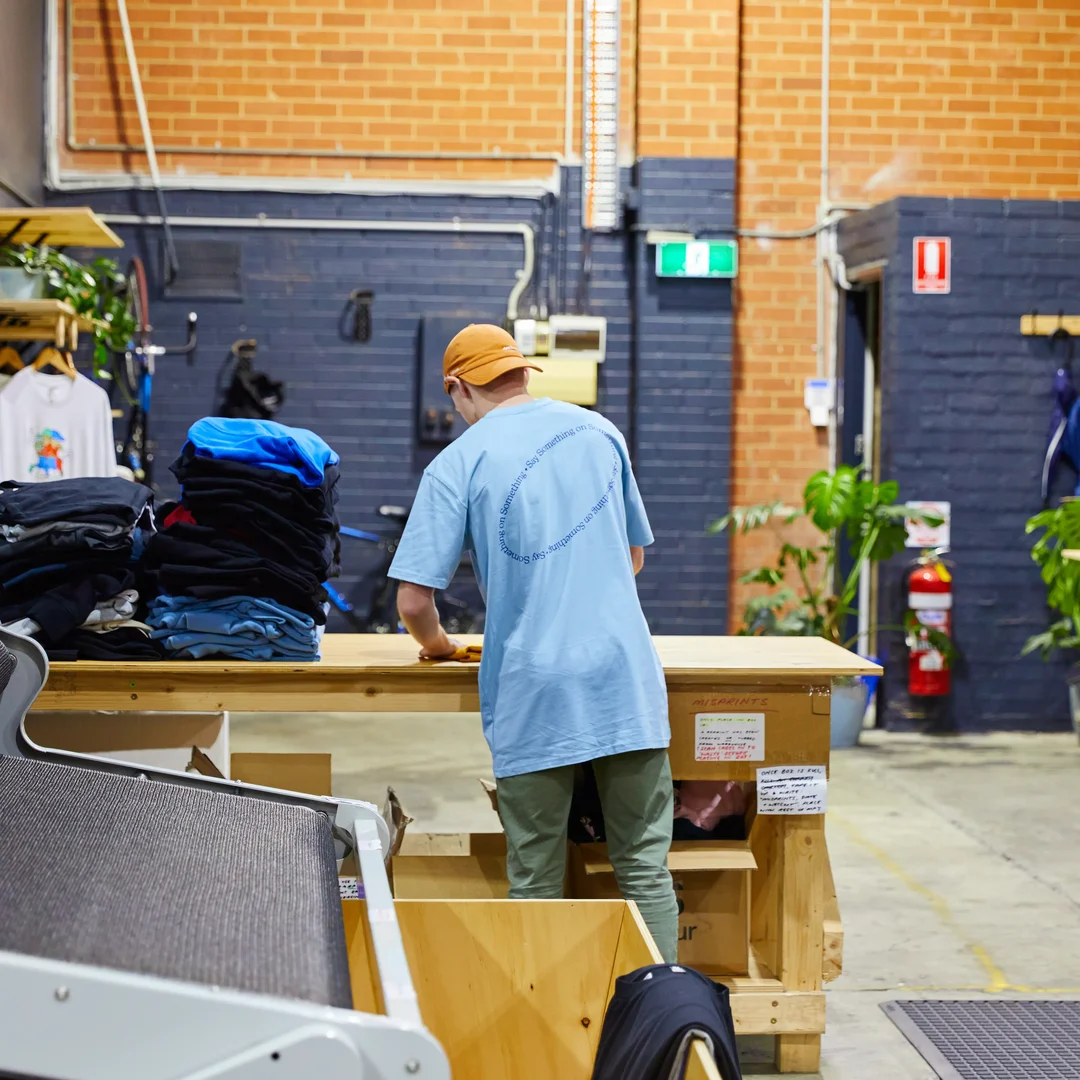
We've got a warehouse full of custom merchandise infrastructure & have spent years refining our processes.
Print on Demand means access to our award-winning print facilities and expertise—no financial risk, staff management or late night experiments. You can focus on developing an engaging business, brand, charity or idea and we'll take care of the production and logistics.
Set your own
prices
Set your own prices
Choose your own
profit margins
Choose your own profit margins
No capital needed -
100% positive cashflow
No capital needed - 100% positive cashflow
Secure hosting & optional
domain included
Secure hosting & optional domain included
All our Print On Demand Options Include
No Minimums
Every order gets printed! No minimums or maximums with this service.
25% Off Most Items
We give our Print on Demand stores a wholesale discount of 25% OFF most of our customisable range.
No Waste or Storage Needed
No more guessing games, you only print what sells, so there's no stocking and most importantly, no waste.
Scale Your Way
With three options, we’ve got something for everyone from beginners to fully established brands.
Free Set-up & Use
That’s right, our integrations are free to use and so is our support team, let us take away some of the financial burden so you can get creating.
Retail quality & award winning printing
We use some of the best printing equipment in the world and have the people and processes to match, which is why we've won awards doing this.
Champions of Your Creativity
Champions of Your Creativity
Champions of Your Creativity
Champions of Your Creativity
Champions of Your Creativity
Champions of Your Creativity
Champions of Your Creativity
Champions of Your Creativity
Champions of Your Creativity
Champions of Your Creativity
Our Dropshipping Options
Shopify POD
Our POD app smoothly integrates into your site, sending orders straight to our printers. Manage your designs through The Print Bar's Partner Portal, and guess what? It won't cost you a dime to set up or use. With a turnaround time of 1-14 days, you'll have your custom gear ready to roll.
Create an account to get started now!
TPB Dropshipping Platform
This is our own full-featured website builder and secure eCommerce platform that doesn't require any custom code. You can create unique products, tell your story and make sales, and our platform is 100% free.
This is a stand-alone platform, it doesn't integrate with any existing websites.
Printify Integration
Our integration with Printify allows you to sell custom-printed products from a limited selection of our printable range through any of the platforms listed below.
AVAILABLE FOR:
- Etsy
- WooCommerce
- eBay
- Wix Stores
- & More!
How Our Shopify Integration Works
1. SETUP SHOP
Start by creating your free Print Bar account and connect your Shopify store using a one-time passcode from your dashboard. Once that's sorted, install our app and update your billing info to get everything ready behind the scenes.
2. CREATE PRODUCTS
Head over to the Partner Portal to start designing. Upload your artwork, choose your garments, and customise your products. When you're happy with how they look, sync them into your Shopify store as new listings or link them to ones you already have.
3. AUTOMATE IT
Make things seamless by turning on auto-fulfilment in Shopify and enabling automated payments in the Partner Portal. From there, your orders will move automatically from your store to our production team without any manual steps.
4. MAKE BANK
As soon as an order comes through, we print it, pack it in plain packaging, and ship it directly to your customer. You get paid through Shopify, we take care of the production and shipping, and your brand keeps growing.
Shopify made easy with our Partner Portal
The Partner Portal is your home base for running your Print Bar x Shopify store. It’s where you create and manage products, track orders, handle payments, and control every step of your fulfilment process all in one place.
Here’s what you can do in the Partner Portal:
- Create and push merch directly to your Shopify store
- Link new designs to existing listings
- Track order progress and make edits before production
- Update customer shipping details if needed
- Set up and manage automated billing
- Access advanced options like multiple variants or special access features
- Organise your products into collections for easy management
FAQs
What the FAQ
Still got some questions? Finding the right fit is important, which is why our range is so big! But finding a printer that fits your vision is even more important, so if you have more questions, check out our FAQ or give our friendly team a call or email.
Hate Labels?
Love em or hate em, we make them work how you want them to. Whether you want your tags removed or new ones printed, we’ve got plenty of options to fit your needs.