Help Centre | The Print Bar | Answering Your Questions

For your Print Care, Shipping, Return Questions and More!
Whether you’re looking to fill in the gaps, start selling your own merch, or make the most of a print, you’ll find what you’re looking for here in our Help Centre. Click on a heading to jump ahead and find your answer.
Bulk Orders
Welcome to our Bulk Orders FAQ. Learn about our specialised bulk custom t-shirt service, perfect for large-volume orders with top-notch print quality. Discover the benefits of Screen Printing, ideal for vibrant designs, consistent quality, and cost-effective pricing. Get insights into our process and how we ensure excellent results for your bulk orders.
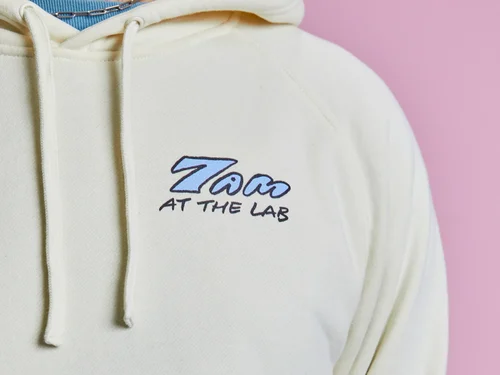
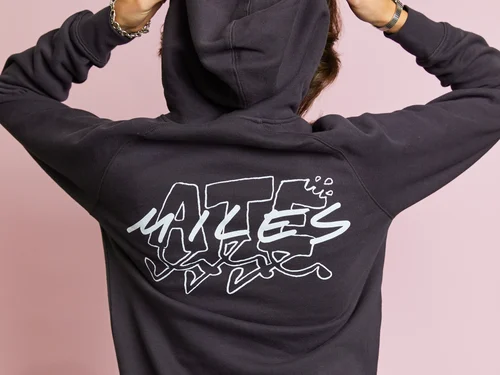
Screen & Digital Printing
Welcome to our Screen & Digital Printing FAQ. Learn about the differences between Screen Printing and Digital Printing (DTG), including their processes, quality, and look. Discover how each method produces retail-quality prints with unique strengths. Additionally, explore our Same Day service for quick turnaround orders.
Design & Artwork Upload
Welcome to our Design & Artwork Upload FAQ. Here, you’ll find information on creating designs, fixing low-resolution artwork, and removing backgrounds from images. While we don't offer in-house design services, we recommend collaborating with local artists or using platforms like Fiverr for your design needs.
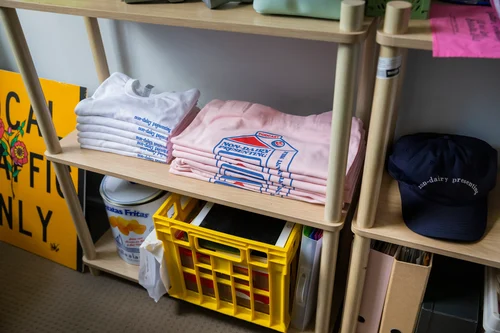

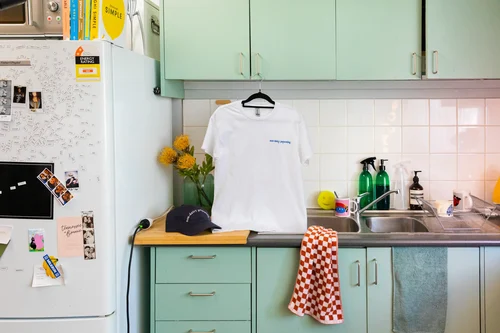
Hate Labels?
Love ‘em or hate ‘em, we make them work how you want them to. Whether you want your tags removed or new ones printed, we’ve got plenty of options to fit your needs.
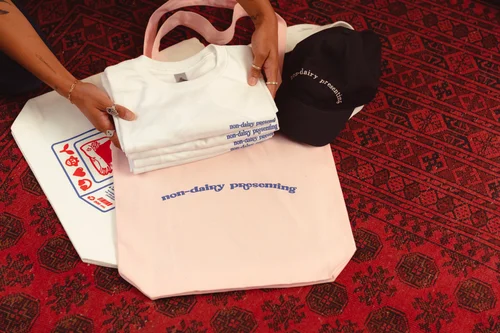
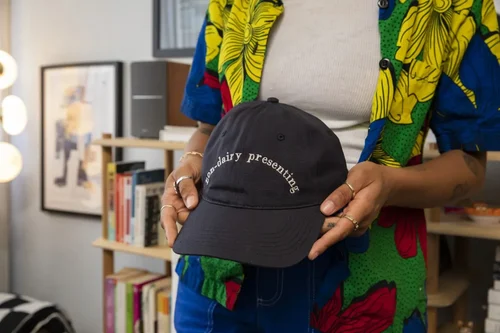
We’re a BYO Business
BYO merch that is! If you’ve looked at our range and think there’s something else you’d like, just bring it into our store, or give us a call so we can make your custom clothing dreams come true.